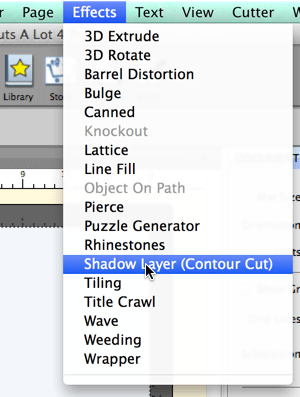
Select the design you want to add the Shadow Layer to and choose Shadow Layer (Contour Cut) from the Effects menu.
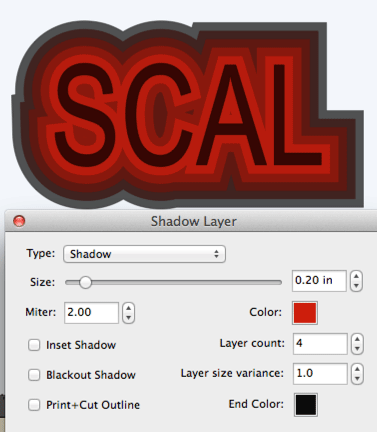
The Shadow Layer settings window will appear.
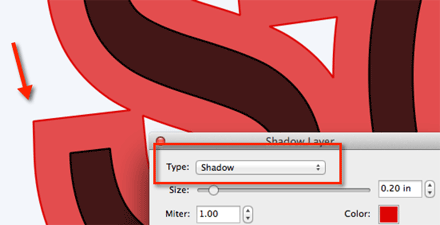
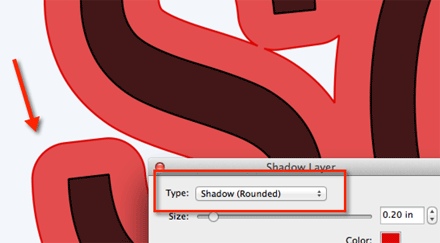
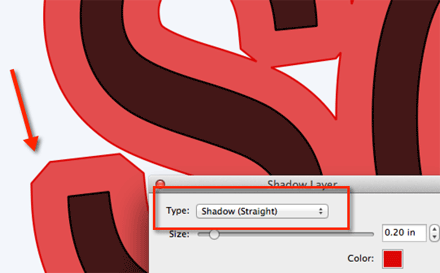
Type: Choose to have the standard shadow, rounded, or straight
Miter: Miter limit option will be available when the shadow type is set to the standard shadow type. The miter limit is the threshold where a corner would be converted to a bevel join.
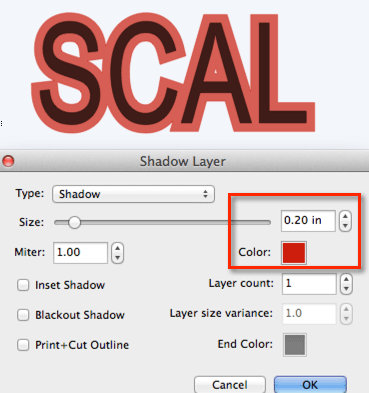
Size: Size of the shadow offset
Color: Color of the shadow layer
Inset Shadow: If checked, the shadow will inset into the design.
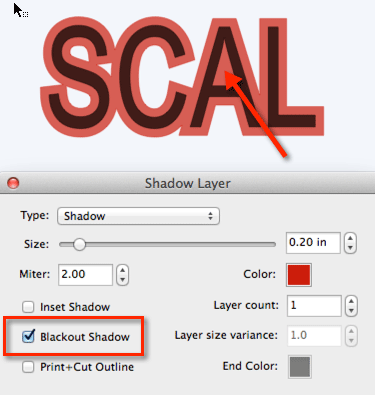
Blackout Shadow: If checked, holes will be removed
Print+Cut Outline: This will set the original shape to a cut line type of Print+Cut Print and the added shadow layer to Print+Cut Cut. This can be used for contour cutting to print the original design and then cut around it.
With the Blackout Shadow setting checked, the holes in the design will be removed.
The Shadow type determines how corners are to be handled. The standard shadow type is a mitered shadow type.
Rounded Shadow will round the corners.
Straight Shadow will bevel the corners.
You can add multiple layers by increasing the Layout count settings. Settings the End Color will have the colors of the layers to transition between the start and end colors. Layer size variance can be used if you want the different layers to be slightly different sizes. If the variance is set to 1.0, each layer will be the same size. If it is higher than 1.0, each layer added will increase in size. If it is lower than 1.0, each layer added will decrase in size.